Getting started
Five minutes, start to finish: a project, a generated image, and one AI edit on top of it.
1. Start from the home page
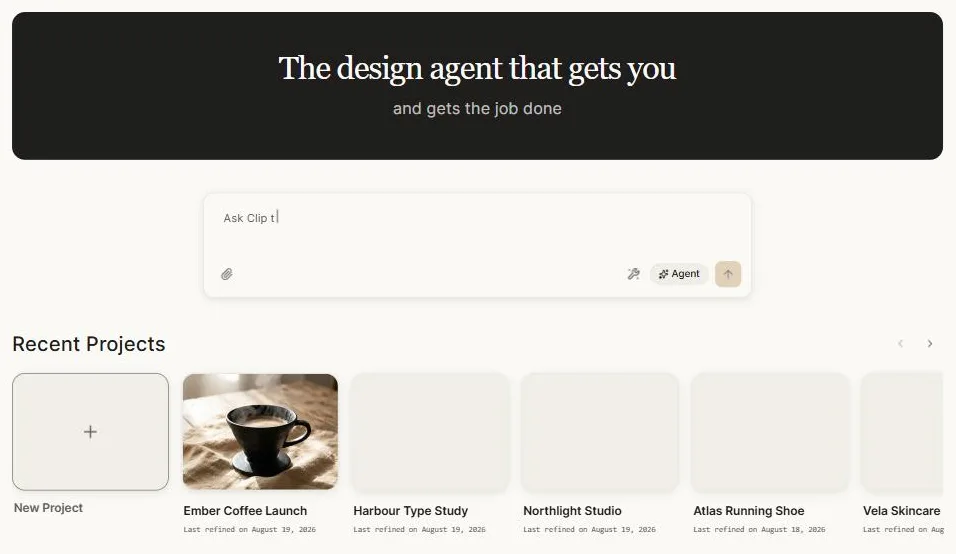
The home page has one prompt bar and a row of recent projects. You can either describe something and let Clip set the project up around it, or create an empty project and work by hand.
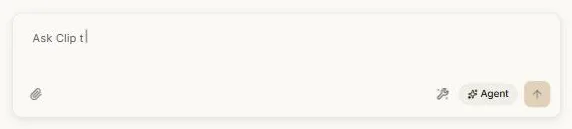
The paperclip attaches files to start with. Agent controls how much thinking Clip puts into the request. The arrow sends it.
2. Create a project
Pick New Project in the left sidebar and give it a name. You can rename it later from the canvas at any time, so don't agonise.
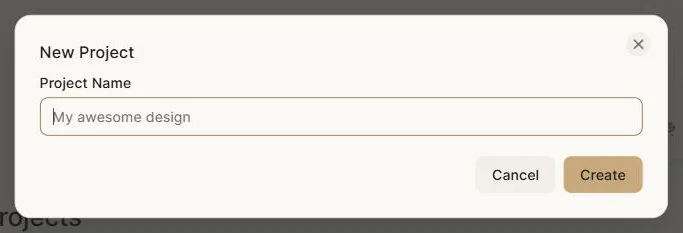
Clip opens the canvas — an infinite surface with your tools on the right and the AI chat panel beside it.
3. Add an image generator
On the tool rail, choose the Image Generator — the icon with a small plus on a picture. If your window is short, the generators live behind the ⋯ button.
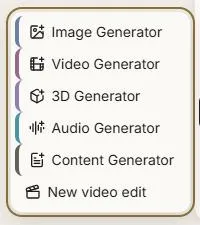
A generator node lands on the canvas and its form opens on the right.
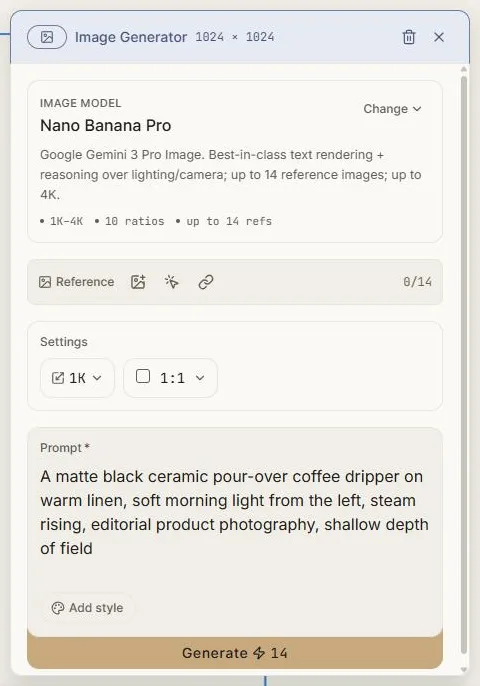
Type what you want. Everything else has a sensible default:
- Image model — the engine. Leave it alone until you have a reason not to.
- Reference — up to fourteen of your own images to steer the look. Optional.
- Settings — output size and aspect ratio.
- Add style — lock the result to a named visual style.
The button tells you the cost: Generate ⚡14. Press it.
4. Watch it work
The node shows a progress bar, a label for the current stage, and a running timer.
You can click away, work elsewhere, close the panel, or reload the page — the generation keeps going and the result finds its way back to the node. If your connection blips, Clip reconnects.
5. Edit the result
When it lands, the node becomes a real image on your canvas, named automatically. Select it and the AI toolbar appears above it.
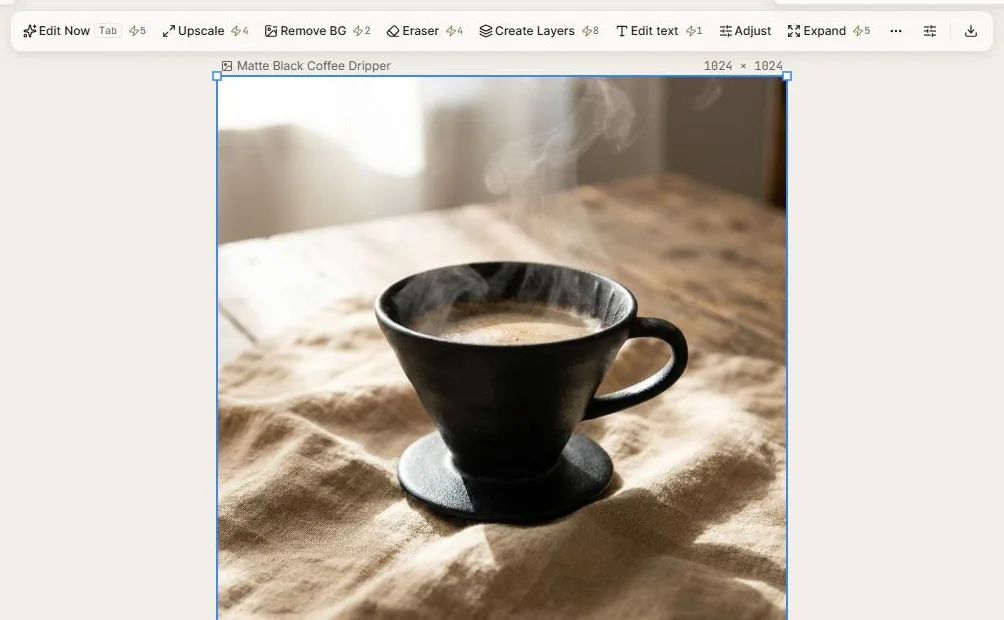
Every button carries its price:

Try Edit Now (⚡5) — describe a change in plain words, like "make the linen deep green", and Clip returns a new version. Your original is never destroyed; edits arrive as new work beside it.
6. Or skip all of that and ask
Everything above can be done by describing it. Open the chat panel, say what you want, and Clip plans the work, runs it, and arranges the results on your canvas.
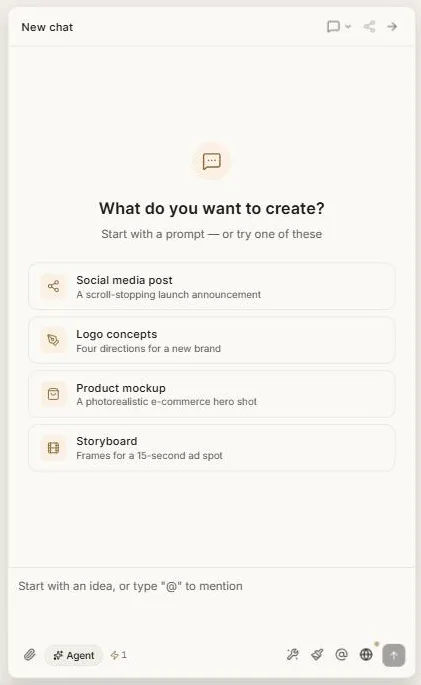
Both routes produce the same editable objects on the same canvas. Most people end up mixing them: ask for the first pass, then refine by hand.
Where things are saved
Your canvas saves itself continuously — you'll see a small status light near the project name. There is no Save button and nothing to lose track of. If something ever goes wrong, Version history has your back.
Next: Canvas basics — a proper tour of the editor.